

Lost Foam Casting Recommendations Worth Trying
2026-10-14
Some lost foam casting advice sounds good in a sales brochure but falls apart on the foundry floor. These recommendations are different—they come from troubleshooting real pours, adjusting coatings, and watching scrap rates drop. If you've ever fought foam residue or inconsistent fill, the following tweaks may surprise you. And if you want to skip the trial-and-error, Zhaoyuqi has already put these ideas through production runs.
Rethink Your Coating Mix with a Dash of Graphite
Most formulators treat graphite as a conductivity booster or cheap filler—something you sprinkle in at the end. But even a small dose can change how the coating wets, levels, and cures. If you're still adding it at the final mix stage without adjusting viscosity, you may be leaving performance on the table.
The trick is less about total loading and more about when and how graphite enters the batch. Flake graphite tends to align during high-shear mixing, which can create localized conductivity but also anisotropic shrinkage. Pre-wetting the graphite with a fraction of the binder for ten to fifteen minutes before the main mix often yields a smoother film and fewer lumps.
Before committing to a new formula, run a simple side test. Take a standard batch, pull out 3% of an inert extender, and replace it with graphite. Track viscosity, gloss, and surface feel over the first hour. That small change might reveal whether graphite belongs in your mix as a functional ingredient rather than an afterthought.
Why Pre-Heating the Foam Pattern Saves You Headaches
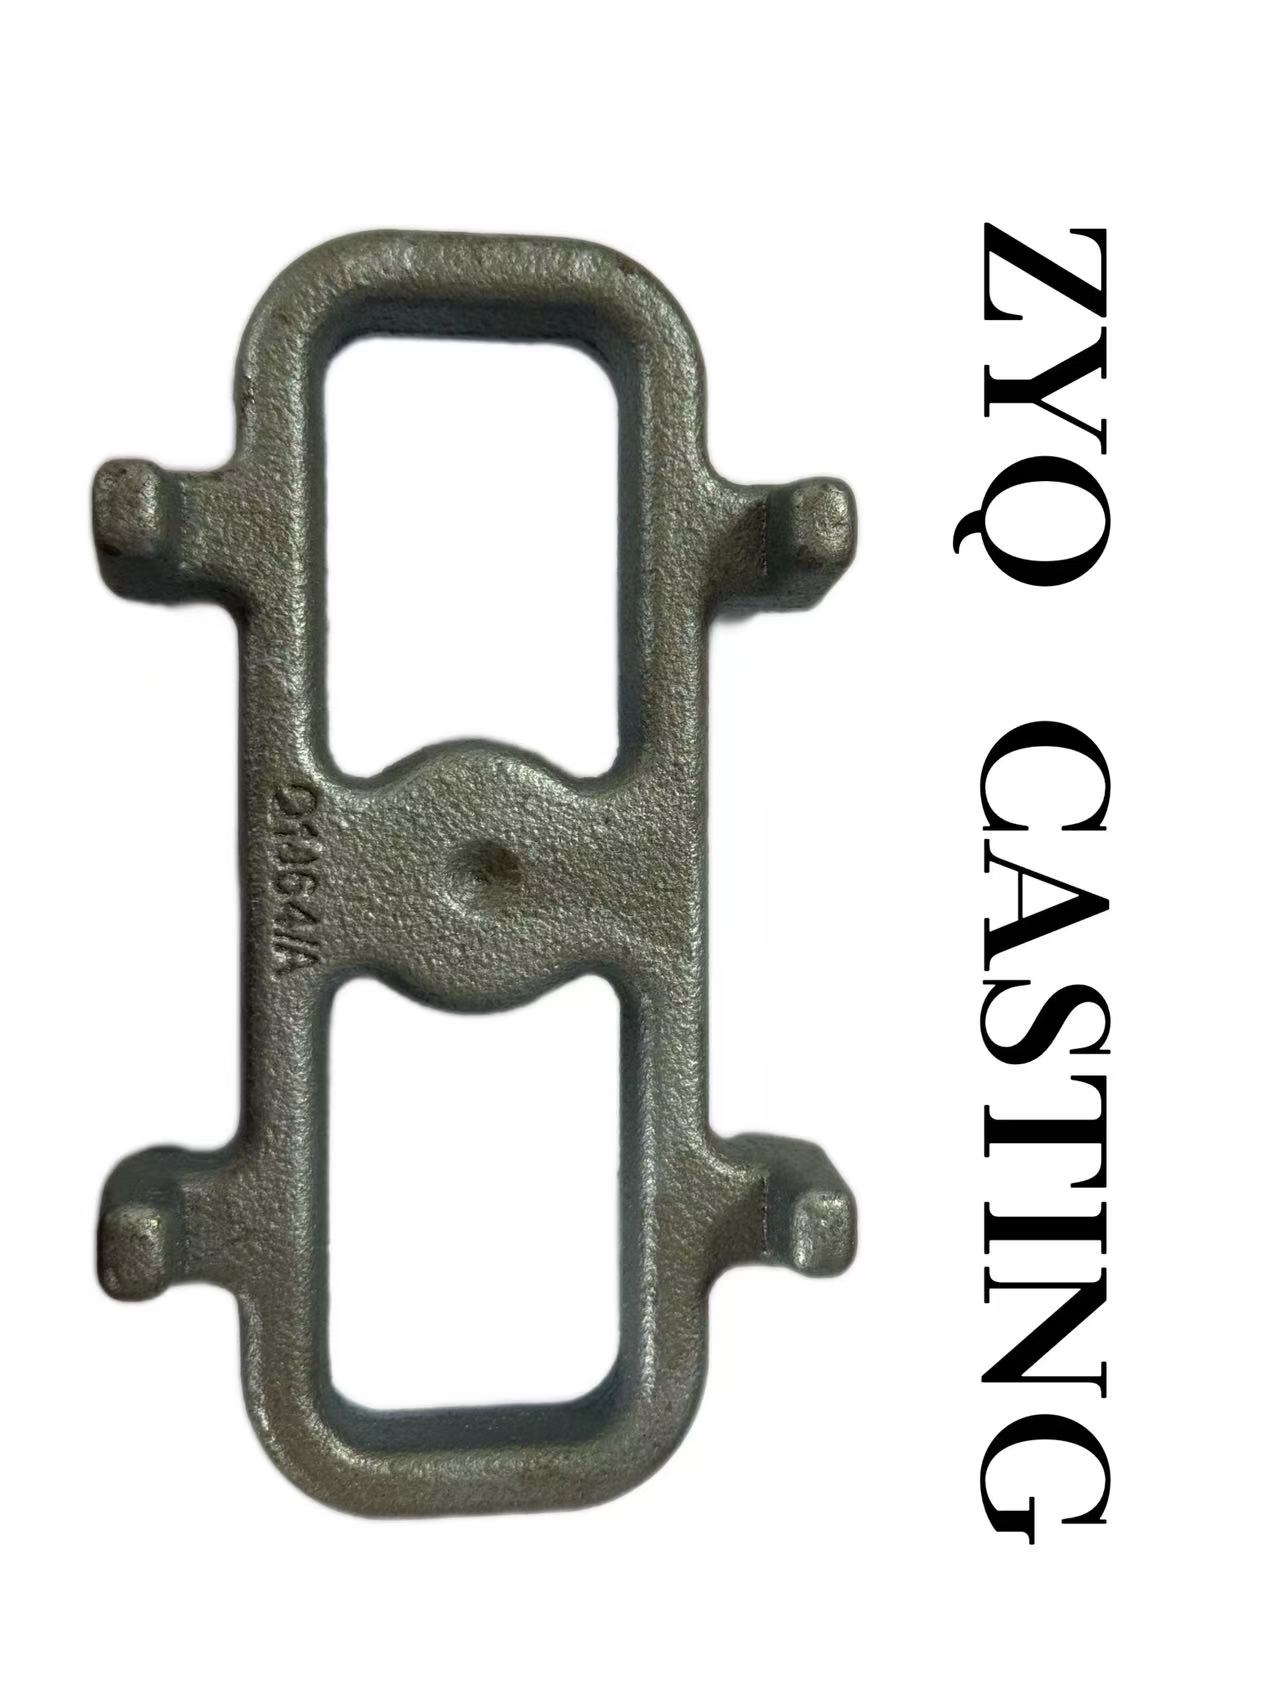
Skipping the pre-heat on a foam pattern might feel like a time-saver until that first pour reveals a constellation of pinholes across the casting surface. Moisture trapped inside the foam cells and within the refractory coating doesn't just sit there—it flashes into steam when molten metal hits, ripping tiny voids through the solidifying skin. A low-temperature bake before you ever lift the ladle drives off that residual water, giving you a clean burn instead of a gas-filled mess. It's the difference between a pattern that disappears quietly and one that fights back with every defect in the book.
Beyond moisture, pre-heating settles the coating itself. Cold foam tends to shrug off slurry in spots, leaving thin patches that erode under metal flow and dump sand inclusions into your part. Warm the pattern to match the coating's ideal application window, and the slurry wicks into the foam's surface porosity, locking on like it belongs there. That means no last-minute touch-ups, no second coats where you didn't notice a bare edge, and no post-pour grinding to chase down defects that never should have formed. You trade twenty minutes of oven time for hours of avoided rework.
The trick is staying disciplined about temperature and dwell time. Too hot, and the foam starts to soften or distort—throw that pattern away and start over. Too cold, and you're back to square one with trapped gases. A calibrated low-heat cycle, usually just enough to make the pattern feel warm to the back of your hand, releases internal stresses in the foam without compromising dimensional accuracy. Hit that narrow window consistently, and pre-heating stops being an extra step; it becomes cheap insurance against the headaches you used to accept as part of the process.
A Simple Vibration Tweak That Eliminates Surface Defects
Most operators assume more vibration means fewer voids, but that’s rarely the case. Cranking the vibrator to maximum often traps air pockets near the surface instead of releasing them. The fix is surprisingly low-tech: drop the frequency by 15–20% from the usual setting and shorten each pulse to under two seconds. This lets the material settle in its own rhythm without churning new bubbles into the mix. Within a few cycles, pinholes and flow lines start disappearing from visible faces.
Timing matters just as much as intensity. Start vibrating only after the material has spread past the critical corners, then stop the moment the surface turns glassy. Overworking the mix creates a wave pattern that sets as shallow ridges—exactly the defect you’re trying to avoid. A slight pause between pulses, about half a second, gives trapped air a path to exit rather than being pushed sideways. It’s a small change that costs nothing and keeps parts coming out clean without extra sanding or filling.
Give Bottom-Fill Gating a Shot for Thin-Walled Parts
Thin-walled parts are notoriously fussy. A gate placed at the top or along an edge often forces the melt to race through narrow sections before the cavity has a chance to breathe, leaving hesitation marks, weld lines, and uneven shrinkage. Bottom-fill gating flips that dynamic. By injecting from the lowest point of the part, the flow front rises uniformly, pushing air out through vents at the top and giving the polymer a more predictable path to follow.
One of the less obvious wins is pressure. Because the melt doesn't have to fight gravity or make sharp directional changes at the gate, peak injection pressure typically drops. That means less clamp force, fewer flash issues, and a wider processing window for materials that degrade under shear. You also get a cleaner surface—no visible gate vestige on the show face, since the gate sits on a non-cosmetic underside or along a hidden edge.
The catch is that bottom-fill gating often requires a slight parting line tweak or a secondary trimming step if the gate lands on a functional surface. But for parts under 2 mm in wall thickness, the trade-off is usually worth it. Run a short-shot study with the gate moved to the bottom and compare the fill pattern against your current setup. The difference in flow balance can be striking.
Stop Over-Coating Corners — Here's a Better Approach
Most detailers reach for extra product the moment they see a corner. The logic seems sound: edges are fragile, so they must need more protection. But that habit often backfires, leaving thick, cloudy buildup along the exact lines you wanted to keep crisp. Instead of piling on another coat, take a step back and ask whether the corner is actually under-protected or just poorly prepped.
A better move is to focus on the surface underneath. Clean, decontaminate, and lightly abrade the corner area before applying anything. When you do coat, use a thin, even layer with a precise applicator—something like a micro swab or a folded edge of a suede cloth. That gives you better control than a bulky foam pad, and it prevents product from pooling where two planes meet.
If you really want extra durability, resist the urge to add a full second coat immediately. Instead, wait for the first layer to flash, then gently level any high spots or streaks along the corner. A quick, light wipe with a slightly damp microfiber can pull excess product out of the seam without stripping the protection you just laid down. The result is a clean, even edge that holds up better over time—without the milky haze that comes from overdoing it.
The Counterintuitive Cooling Trick That Stops Warping
Warping is rarely mysterious. It happens because one part of a piece gives up heat faster than its neighbor. The thin flange cools in seconds; the thick boss stays hot for minutes. As the flange contracts, it bends toward the still-expanded mass. Most people grab a fan or a wet cloth and aim it at the thin edge, thinking they are helping. They are not.
The counterintuitive move is to put the heat sink on the thick section, not the thin one. A cold aluminum plate, a copper block, or even a heavy steel slab placed under the boss pulls heat out of the exact area that normally lags behind. The thin edge is left alone in still air, so it cools at its natural pace. For a brief window, the two regions drop through the critical temperature range together.
Try it with a simple T-joint or a small bracket. After welding or heat-forming, rest the thick lug on a chilled plate for about half the time you would normally spend with a fan on the flange. The part can be handled sooner and, more importantly, stays flat without post-bending or clamping. It feels backwards because you're ignoring the spot that looks most urgent, but that's exactly why it works.
FAQ
Aim for 0.3 to 0.5 mm on most patterns. Thinner coats invite metal penetration, while thicker coats slow gas escape and can leave surface defects on the casting.
Pick a denser foam, around 1.5 lb per cubic foot. It resists distortion during handling and compaction better than low-density stock, though you will need slightly more venting to handle the extra decomposition gas.
Compact the sand in thin lifts and pull a steady vacuum through the flask. The vacuum locks the grains in place, so the foam pattern stays fully supported even when the metal starts displacing it.
Use a bottom-fill or step gating layout instead of a straight top pour. Letting the metal front advance upward through the pattern gives the foam time to degrade evenly and avoids splashing that traps residue.
Normally no. Preheating can soften or warp the pattern before the metal arrives. The better move is to hold the pour temperature steady and let the coating control the burn-off rate.
Carbon pickup usually means the foam is not fully decomposing before solidification starts. Increase coating permeability, drop the pour temperature slightly, or switch to a lower-density foam so the gas can clear the cavity sooner.
Not reliably. Iron needs a refractory-heavy coating that can handle higher heat without breaking down. Aluminum can use a lighter, less expensive slurry, but using the iron-grade coat on aluminum often hurts surface detail.
Conclusion
If you’re looking to get more consistent results from lost foam casting, a few practical adjustments are worth testing on your next run. Adding a small amount of graphite to the coating mix often improves the way the coating releases from the metal and can leave a noticeably smoother surface. Pre-heating the foam pattern before you apply that coating helps drive out residual moisture and reduce gas-related porosity, which is a simple step that saves a lot of post-casting cleanup. Even the vibration settings during compaction deserve attention—slightly lowering the frequency or changing the amplitude can stop loose sand from settling unevenly and creating surface defects near thin sections.
When you’re casting thin-walled parts, switching to a bottom-fill gating setup tends to fill the cavity more gently and avoids the turbulence that traps air or erodes the coating. You might also want to look at how you coat internal corners; many foundries over-apply coating there, which leads to cracking and rough surfaces, so using a thinner layer or a localized patch works better. Finally, if warping keeps showing up after shakeout, try the counterintuitive route of slowing the cooling in the thickest sections rather than quenching everything fast. Letting those areas release stress more gradually often straightens the part without extra straightening work.
Contact Us
Contact Person: Nico Yin
Email: [email protected]
Tel/WhatsApp: 8618561567088
Website: https://www.ductileironparts.com/